Clamping the glued centerboard skins
Sunday, January 30, 2011
Saturday, January 29, 2011
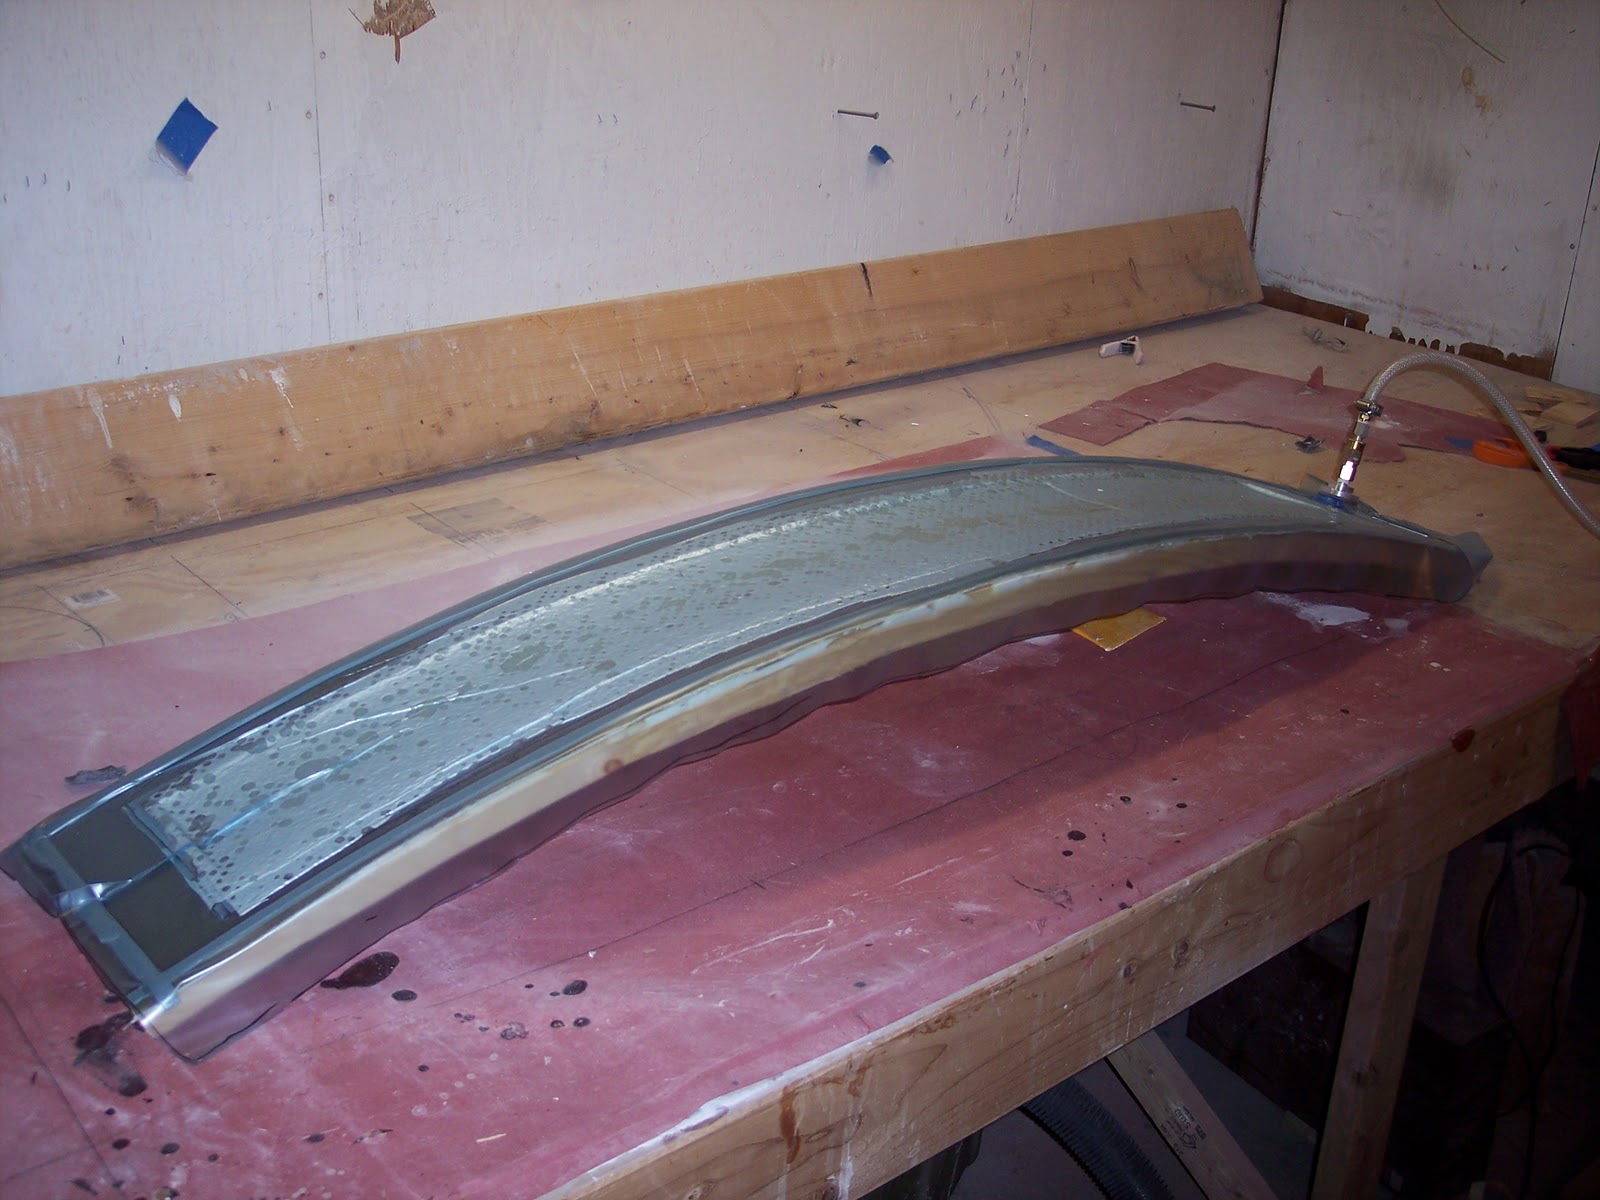
Sealing up the Vacuum bag in a center board skin.
This is the sealing up of the vacuum bag after the layup is done. On the carbon fiber goes a layer of peel ply, then a layer of perforated release film. Next goes two layers of breather fabric and bagging film (LTF250).
The Vacuum bagging consumables are from Express Composites, Inc.
The Vacuum bagging consumables are from Express Composites, Inc.
The layup of a Centerboard skin with carbon fiber.
The layup of a Centerboard skin with carbon fiber.
BOM (in order of use )
1 layer of 5.7 oz plain carbon fiber weave. (6" x 52")
1 layer of 11 oz Uni-directonal carbon fiber (6" x 52")
1 layer of 11 oz Uni-directonal carbon fiber (2" x 52")
1 layer of 5.7 oz plain carbon fiber weave. (4" x 52")
1 layer of 11 oz Uni-directonal carbon fiber (2" x 52")
1 layer of 5.7 oz plain carbon fiber weave. (6" x 52")
Tuesday, January 18, 2011


Monday, January 17, 2011


Test assembly
Two skins together in the assembly jig. I need to put the compression spar inside before I start to glue them together.


Into the oven it goes
Once the vacuum bag is OK (no leaks) a foam box goes over the mold with a 50 year old heater set to low and a fan at the other end. The temp. is set to 130 F. and then I walk away for 12 hours. After 12 hours off goes the vacuum and heat and I don't open it for 24 hours.


Center Board skin in mold under vacuum.
Center Board skin in mold under vacuum.

I am using West Systems 105/206 with e-glass for the first sample that I will make the assembly jig from.
I am using West Systems 105/206 with e-glass for the first sample that I will make the assembly jig from.
Thursday, January 6, 2011
Second CB mold off the tool.
I popped the second CB mold of the tooling. ( I use the word popped loosely, the resin stuck to the primer in a few spots.) I will need to finish some of the spots after sanding the surface.


Wednesday, January 5, 2011
Working on second CB tool
The inside radius CB tool just needs a little clean up and to be reinforced.
The plug is back on the strong back and waiting for the tooling surface and glass.

The plug is back on the strong back and waiting for the tooling surface and glass.

Subscribe to:
Posts (Atom)