
Monday, December 12, 2011
Saturday, December 10, 2011
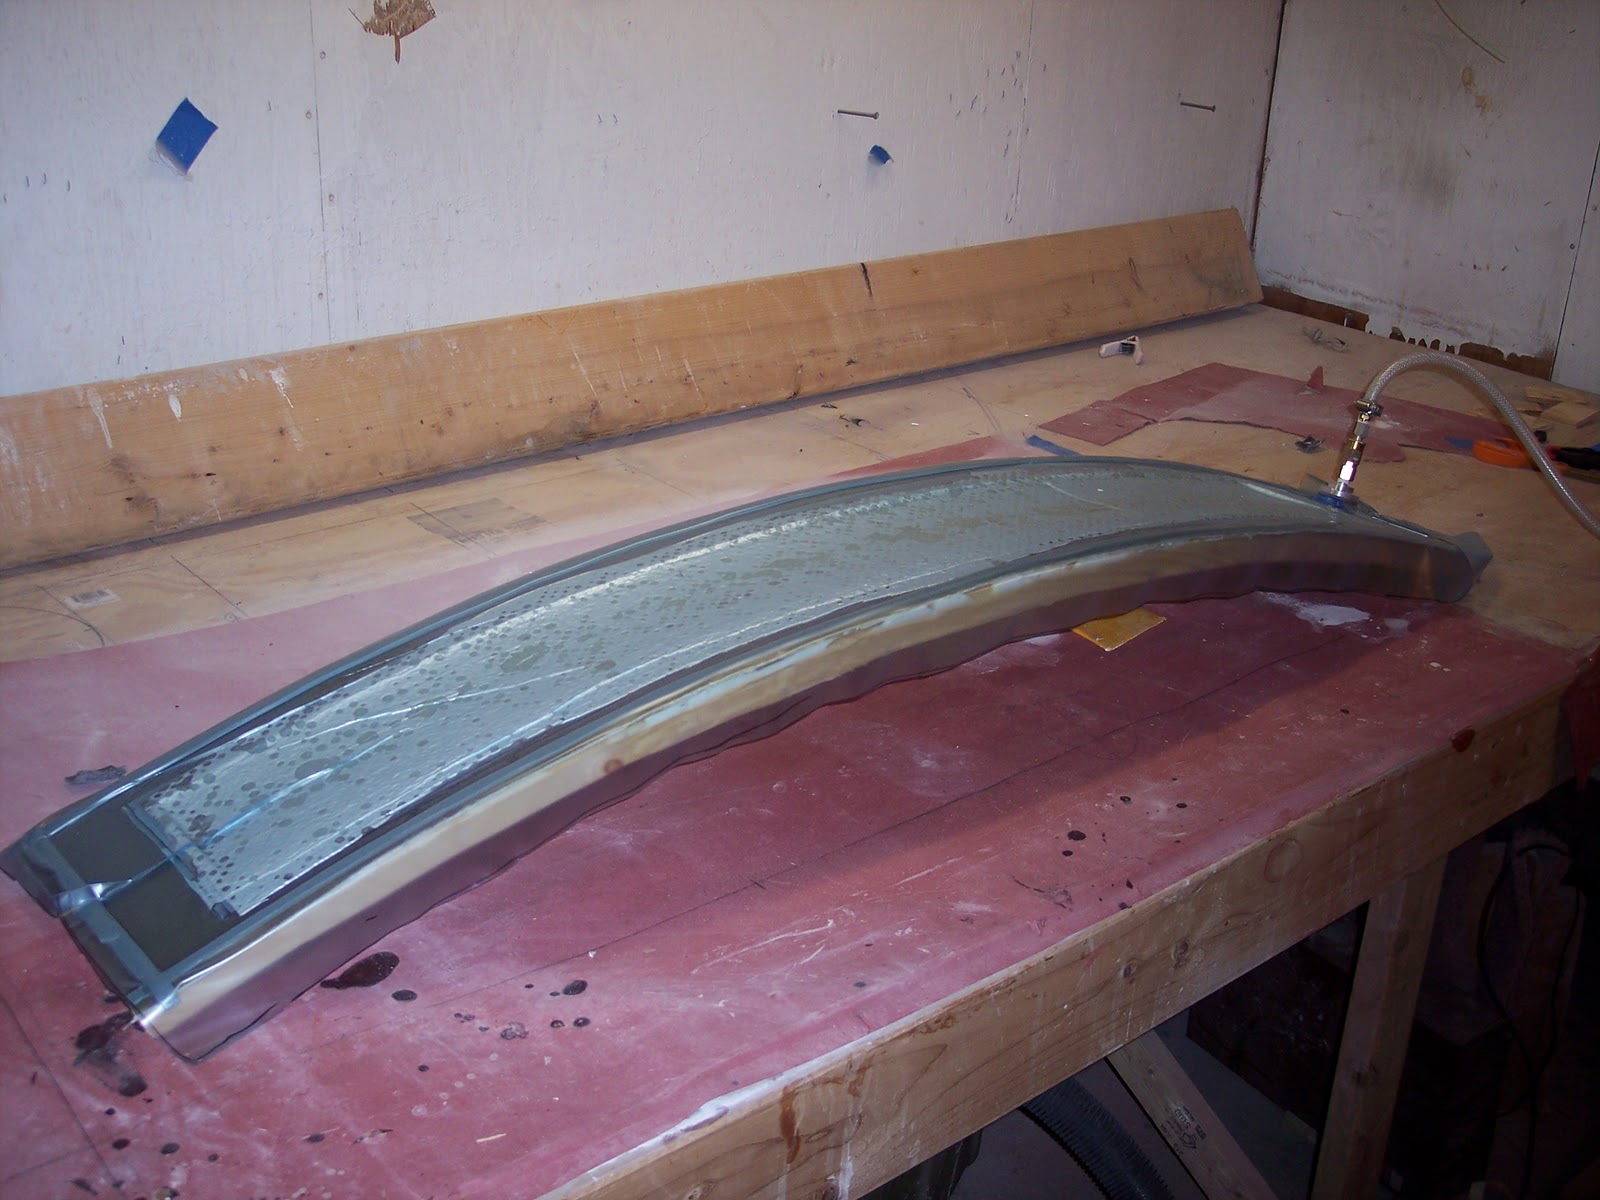
The insert glassed over
The insert glassed over with 3-4 layers of 5.5 oz fiberglass and covered with peelply.


Foam glued to a sheet of glass(fiber) and cut to shape then inserted into the cut in the hull.
Foam glued to a sheet of glass(fiber) and cut to shape then inserted into the cut in the hull.


Friday, November 25, 2011
NSC season haul out.

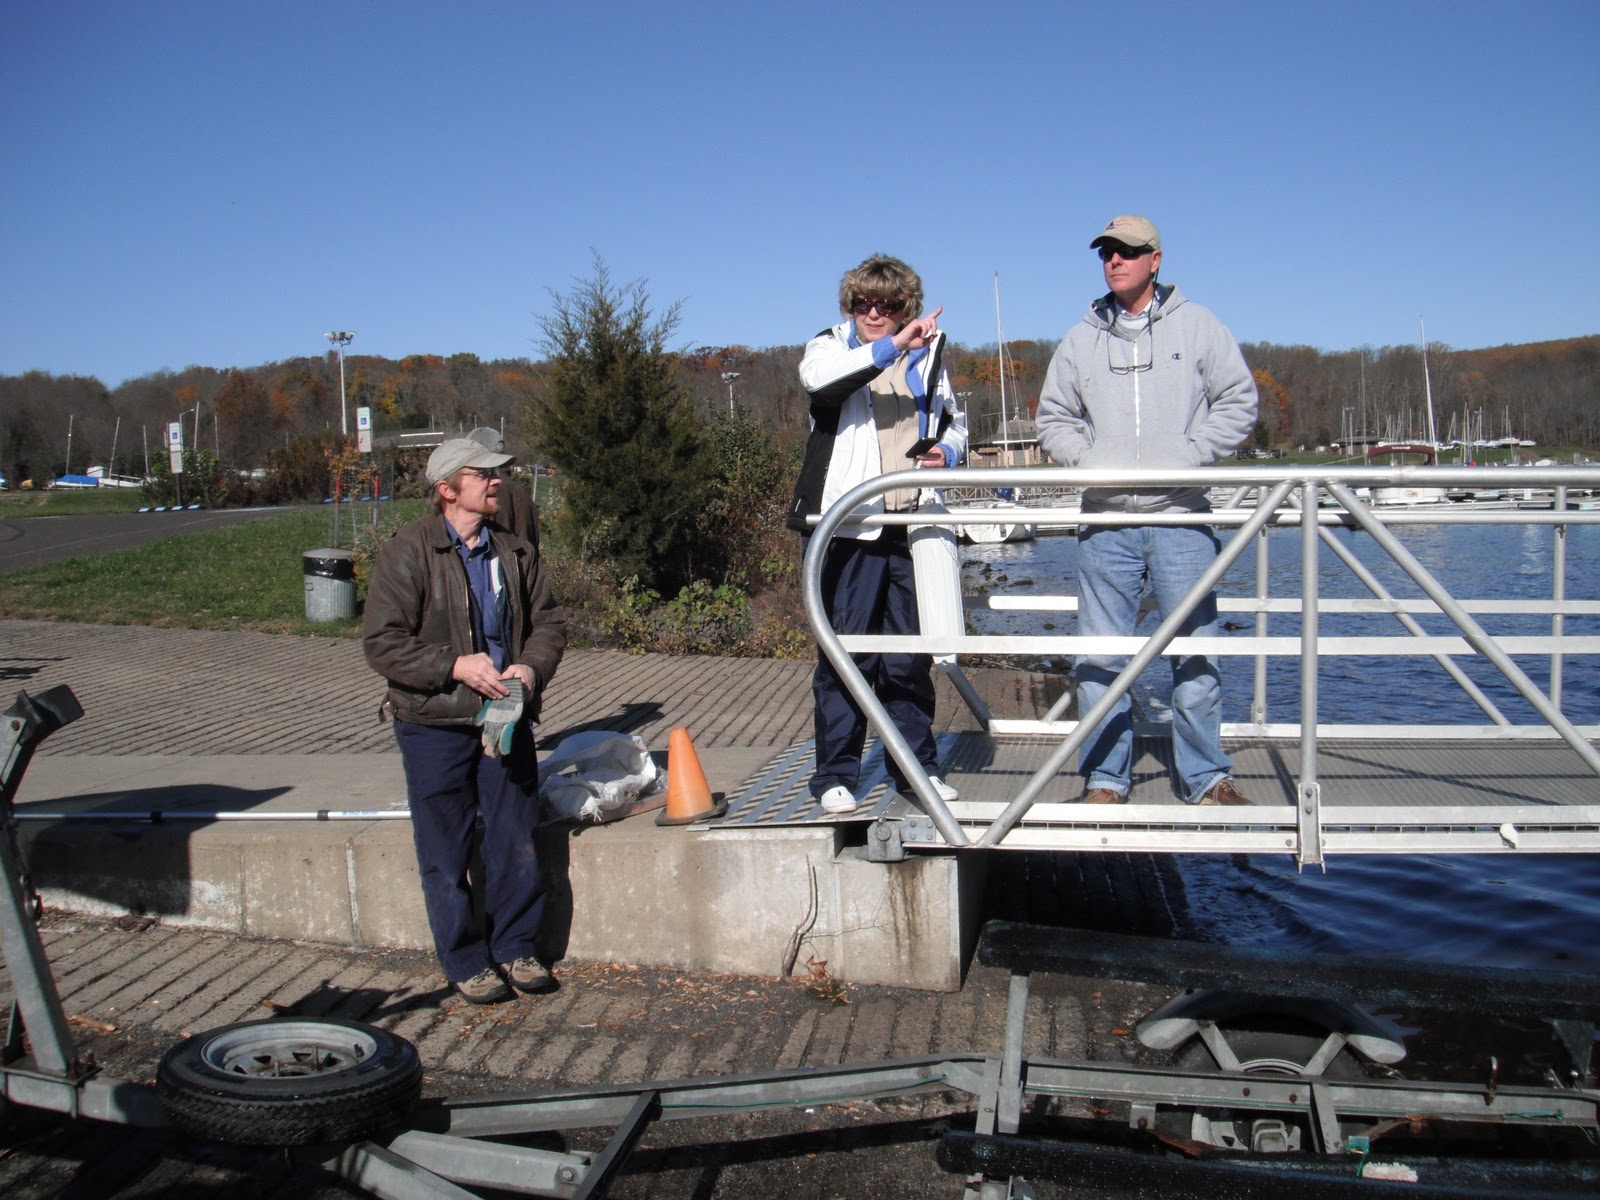

Even in a clean lake we have a growth problem. Could this cause a steering issue??
Tuesday, May 31, 2011
Halyard Lock
I was having troubles with the new(to me) stiff boltrope. Wile I could get the sail up with out the halyard I could not release the hook when I wanted to.
 I removed about 3cm if boltrope and now it works fine. Do need to make a new hook out of lighter stock.


Sail shape
Some shots of the new sail.

 The first two are with the clew at 90% and the down haul at 50%.


Friday, April 29, 2011
New boom and mast rotation control.
Boom and mast rotation control.
I can adjust the mast rotation and the down haul from both sides.
This is new to me, I have not sailed a boat with a boom years.

I can adjust the mast rotation and the down haul from both sides.
This is new to me, I have not sailed a boat with a boom years.


Thursday, March 24, 2011
The pessimist...
The pessimist complains about the wind; the optimist expects it to change; the realist adjusts the sails.
— William Arthur Ward
— William Arthur Ward
Friday, March 11, 2011
Center Board attitude movement.
My intent is to have the centerboards near vertical upwind and angled for down wind.


Wednesday, February 16, 2011
Don't you just hate cutting holes in your boat...
Don't you just hate cutting holes in your boat...
I'm installing new CB trunks to accommodate the new center boards and to move them back about 3".
Out go the old.

I'm installing new CB trunks to accommodate the new center boards and to move them back about 3".
Out go the old.

Friday, February 11, 2011
Thursday, February 10, 2011
Vacuum bag laminating table to make flat parts Part 1
Using a laminating table to make flat parts with a vacuum bag.
I need to make center board trunks for the curved center boards, the easy way for now is to
use 4 mm ply with a fiberglass reinforcement. In this video the underside is got a coat of 5oz glass and a layer of peel ply, purf. poly, and breather mat. At the start I have layed down the glass and am putting a layer of peel ply on.
Monday, February 7, 2011
Tuesday, February 1, 2011
Sunday, January 30, 2011
Saturday, January 29, 2011
Sealing up the Vacuum bag in a center board skin.
This is the sealing up of the vacuum bag after the layup is done. On the carbon fiber goes a layer of peel ply, then a layer of perforated release film. Next goes two layers of breather fabric and bagging film (LTF250).
The Vacuum bagging consumables are from Express Composites, Inc.
The Vacuum bagging consumables are from Express Composites, Inc.
The layup of a Centerboard skin with carbon fiber.
The layup of a Centerboard skin with carbon fiber.
BOM (in order of use )
1 layer of 5.7 oz plain carbon fiber weave. (6" x 52")
1 layer of 11 oz Uni-directonal carbon fiber (6" x 52")
1 layer of 11 oz Uni-directonal carbon fiber (2" x 52")
1 layer of 5.7 oz plain carbon fiber weave. (4" x 52")
1 layer of 11 oz Uni-directonal carbon fiber (2" x 52")
1 layer of 5.7 oz plain carbon fiber weave. (6" x 52")
Tuesday, January 18, 2011


Monday, January 17, 2011


Test assembly
Two skins together in the assembly jig. I need to put the compression spar inside before I start to glue them together.


Into the oven it goes
Once the vacuum bag is OK (no leaks) a foam box goes over the mold with a 50 year old heater set to low and a fan at the other end. The temp. is set to 130 F. and then I walk away for 12 hours. After 12 hours off goes the vacuum and heat and I don't open it for 24 hours.


Center Board skin in mold under vacuum.
Center Board skin in mold under vacuum.

I am using West Systems 105/206 with e-glass for the first sample that I will make the assembly jig from.
I am using West Systems 105/206 with e-glass for the first sample that I will make the assembly jig from.
Thursday, January 6, 2011
Second CB mold off the tool.
I popped the second CB mold of the tooling. ( I use the word popped loosely, the resin stuck to the primer in a few spots.) I will need to finish some of the spots after sanding the surface.


Wednesday, January 5, 2011
Working on second CB tool
The inside radius CB tool just needs a little clean up and to be reinforced.
The plug is back on the strong back and waiting for the tooling surface and glass.

The plug is back on the strong back and waiting for the tooling surface and glass.

Subscribe to:
Posts (Atom)